In today’s tech-savvy world, our Android smartphones have become indispensable daily. They hold a wealth of personal information, memories, and vital data.
However, the fear of losing your data can be quite distressing if you’ve found yourself locked out of your Android device due to forgotten passwords, PINs, or other security measures.

But don’t worry; you’re not alone in facing this issue. Several methods and tools are available to help you recover valuable data from a locked Android phone.
In this guide, we’ll walk you through the steps to regain access to your locked device and rescue your data. Let’s get started on your journey to Android data recovery.


Part 1. Different Types of Locks on an Android Phone
Android devices offer various security options to protect your data from unauthorized access. These locks serve as the first line of defense for your device and come in several forms.
Understanding the different types of locks on an Android phone is crucial, as it can help you choose the right method for data recovery based on your specific situation.
Here are some common types of locks you might encounter:


- PIN Lock: This type of lock needs the user to pass in a numerical code to unlock the device. The PIN can be any number of digits, typically four or six.
- Pattern Lock: This type of lock requires the user to draw a specific pattern on a grid of nine dots. The pattern must be drawn correctly to unlock the device.
- Password Lock: Similar to a PIN lock, it can include both letters and numbers instead of just numbers. This type of lock is typically more secure than a PIN or pattern lock because it allows for more complex combinations.
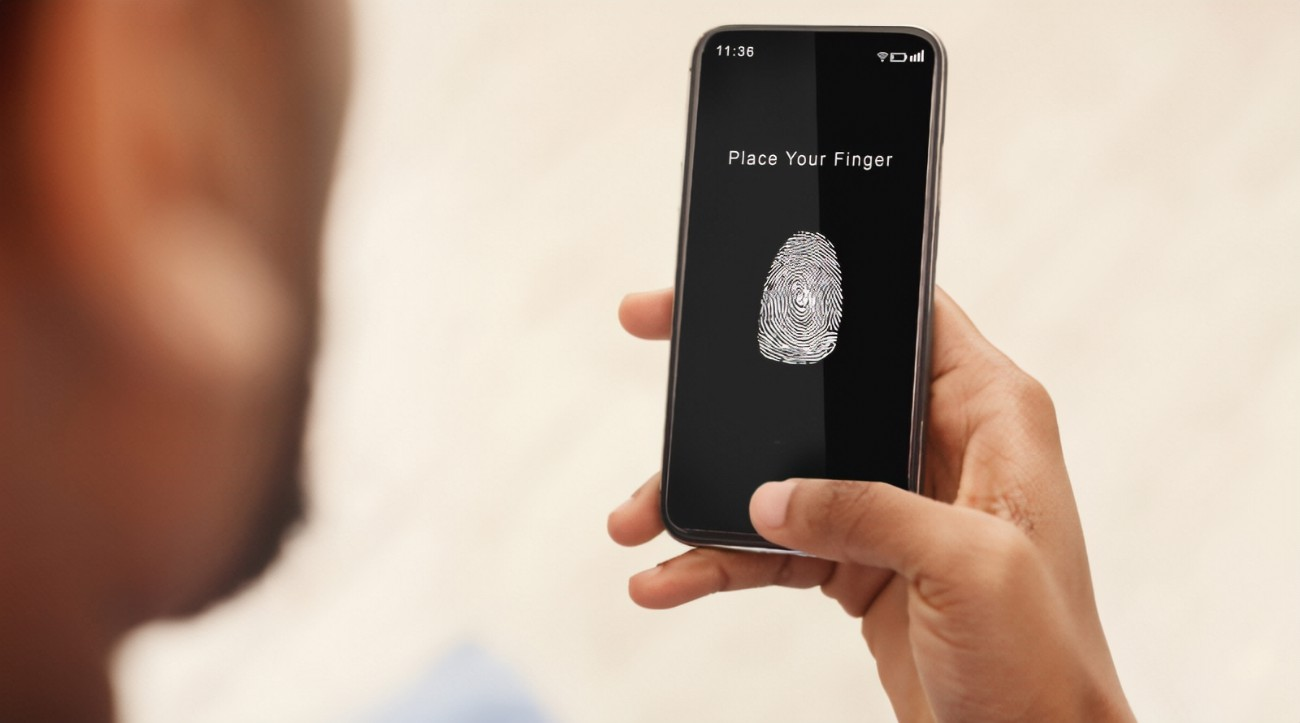
- Biometric Lock: This type of lock uses unique physical or behavioral characteristics to unlock the device. Examples include fingerprint scanning, facial recognition, and iris scanning. Biometric locks are generally considered very secure, but they require specific hardware and can sometimes be tricked by sophisticated methods.
Part 2. Precautions Before Attempting Data Recovery
Before exploring the process of data recovery, it’s imperative to establish a solid foundation of precautions. These measures serve as a safeguard, ensuring that the retrieval process proceeds smoothly and without further complications.
In this particular section, we will outline key steps to take before attempting any Android data recovery efforts.
Here are some precautions you should take before attempting data recovery on your Android device:
- Backup Your Data Regularly: This is the most important precaution. Regular backups ensure you have a recent copy of your data if something goes wrong. You can use Android’s built-in backup features or a third-party app.
- Avoid Factory Reset: A factory reset will erase all data on your device, making it much more difficult to recover lost files. If you’re having issues with your device, try other troubleshooting steps before resorting to a factory reset.
- Enable USB Debugging and Developer Options: These settings allow your device to interact with a PC at a more advanced level for purposes like rooting or data recovery. However, be aware that they should be used carefully, as they can also pose security risks if not managed properly.
Part 3. Different Methods for Android Data Recovery
In this section, we will learn about different methods for android data recovery.
Method 1: Using Android Device Manager
The Android Device Manager is crucial for finding lost or stolen devices. The owner may remotely lock or erase the data if the device cannot be recovered.
The owner must link their device to their Google account to utilize the ADM. Users can easily download Find My Device or the Android Device on the Play StoreManager.
Follow the steps below if you wish to use Google Android Device Manager to unlock your phone.
Steps to unlock a phone using Android Device Manager
- Connect to the internet and visit the Google Android Device Manager unlock page at google.com/android/devicemanager. Sign in using the Google account link with your device.
- Choose the specific Android device you wish to unlock. Among the remote functions, select the “Lock” option.
- Enter the PIN you want to use for locking your device, then click the “Lock” button. Optionally, you can add a message that will be displayed on your locked device.
- To remove the temporary password and regain access to your device, go to your device’s settings, navigate to “Security,” then select “Screen lock,” and finally, choose “Lock screen settings.”
Method 2: Using Third-party Software
In this section, we learn how to recover Android files using third-party software. Wondershare Dr.Fone is the best free Android data recovery software. This popular and comprehensive mobile phone data recovery software can retrieve data from a locked Android phone.
It supports various data types, including contacts, messages, call history, photos, videos, audio files, WhatsApp messages, and more.
We recommend Wondershare Dr.Fone software to get Android data recovered.
Here is the step-by-step use of the best Android data recovery tool Wondershare Dr.Fone.
Step 1: Launch the Data Recovery Tool
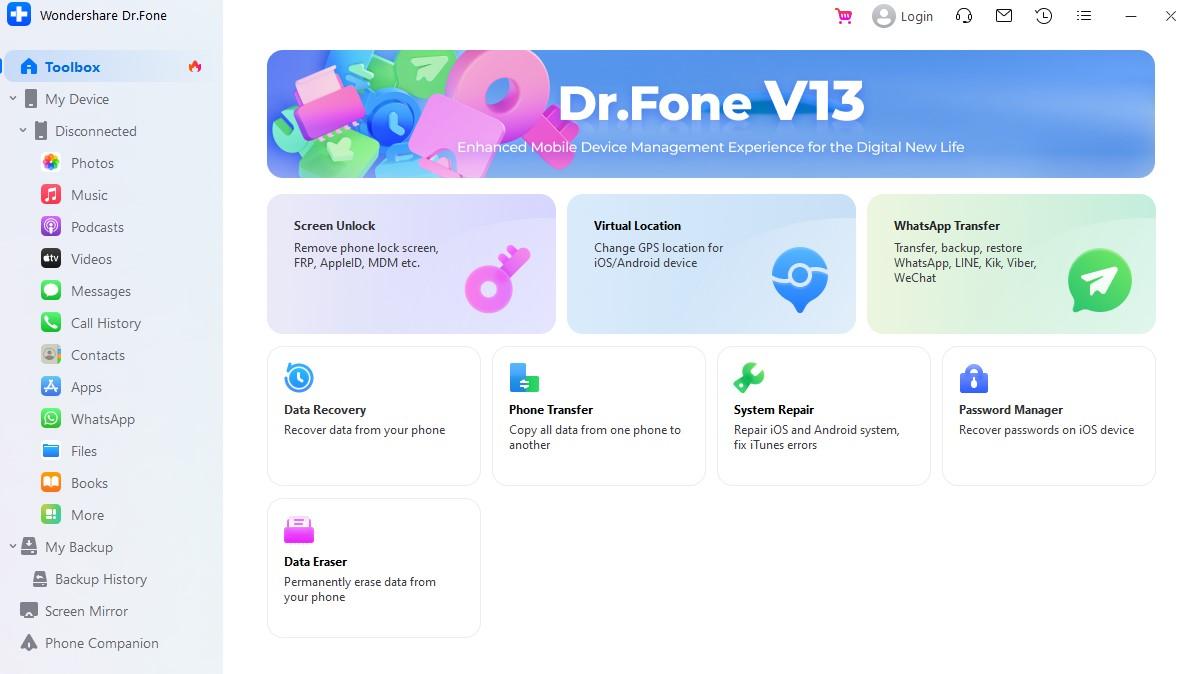
Begin by opening Wondershare Dr.Fone on your computer. Once it’s open, go to the “Toolbox” section and choose “Data Recovery.”
Step 2: Choose Your Device Type
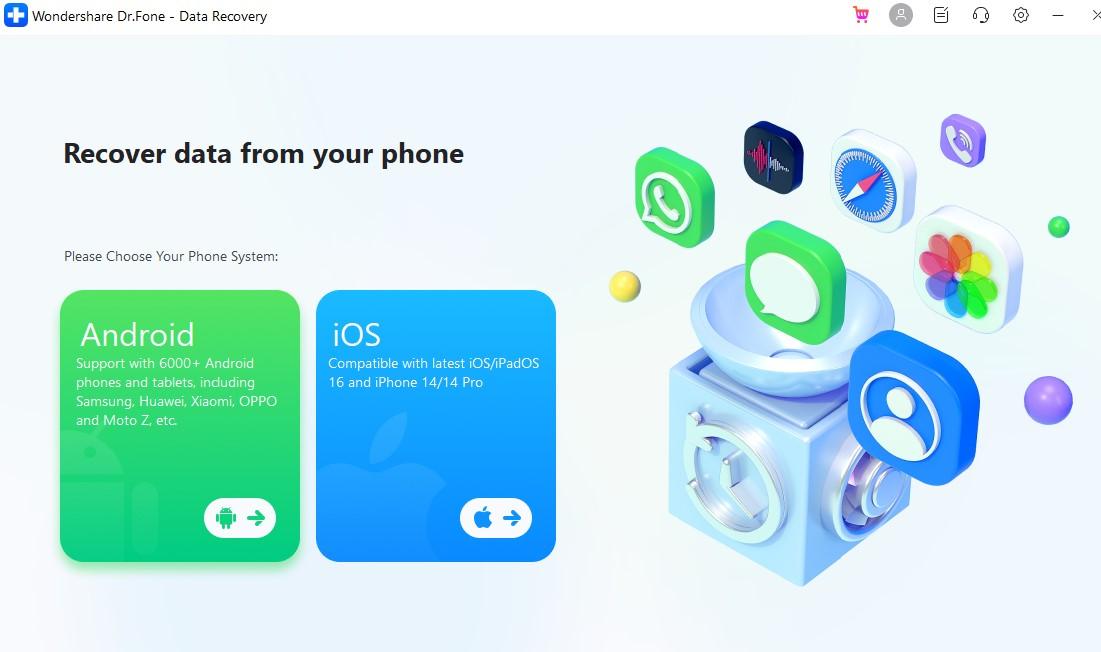
A new window will appear. Select “Android” because you want to recover data from an Android device.
Step 3: Select the Recovery Function
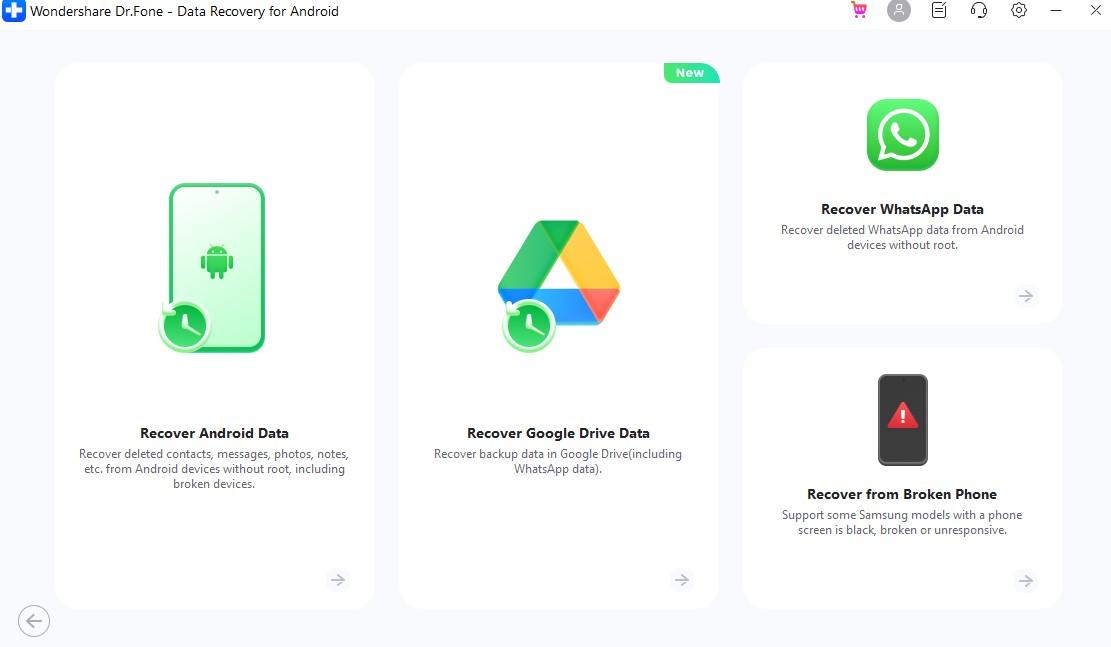
On the next screen, press “Recover Android Data” from the provided options.
Step 4: Connect Your Android Device
Now, you’ll be asked to connect your Android device to your PC with a USB cable. Wait for the software to fetch your device.
Step 5: Choose the Types of Files to Recover
After recognizing your device, you’ll see a list of file types. Select the types of data you want to recover (e.g., photos, messages, contacts), then click “Start Scan.”
Step 6: Preview Recovered Data
The software will start scanning your Android device for the selected files. Wait until the scanning process is complete.
Step 7: Review Recovered Data
Once the scan is finished, you’ll see your Android device on the screen. You can now view all the available data. Use the filter options at the top to organize how you see the data.
Step 8: Recover Data to Your Computer
To recover the data from your Android device, click the “Recover” button. Choose where you want to save the recovered data on your computer, and then confirm the recovery process by clicking “Recover” in the pop-up window.
Conclusion
In conclusion, the landscape of Android file recovery can be both daunting and hopeful. While data loss can be distressing, understanding your options and taking proactive measures can significantly improve your chances of regaining valuable data.
Remember, prevention through regular backups is your first line of defense. By staying informed and exploring methods like Android Device Manager and reliable third-party software like Dr.Fone, you can confidently navigate data loss challenges and ensure that your digital memories remain intact.
-
Oppo Reno 11 F 5G Price in Nepal (Updated)HIGHLIGHTS The Oppo Reno 11 F 5G price in Nepal is Rs. 43,999 (8/256GB). The…
-
Tootle Now Takes 12 Percent Commission for Taxis and 15 Percent for BikesHIGHLIGHTS Tootle announced its commission structure for riders. It now takes 12 percent for taxis…
-
KTM Bikes Price in Nepal (April 2024 Updated)This is a detailed list of the KTM Bikes prices in Nepal for . KTM…